Data Entry Tips
The data entry screen for each form in eForms will have a data entry field for each box on the respective printed forms (as well as control fields used by eForms). Refer to the guides provided by CRA or Revenu Québec for information and regulations concerning the completion of any form. A sample data entry screen for a T5013 Slip (eForms Standard and eForms Enterprise) is shown below for illustration.
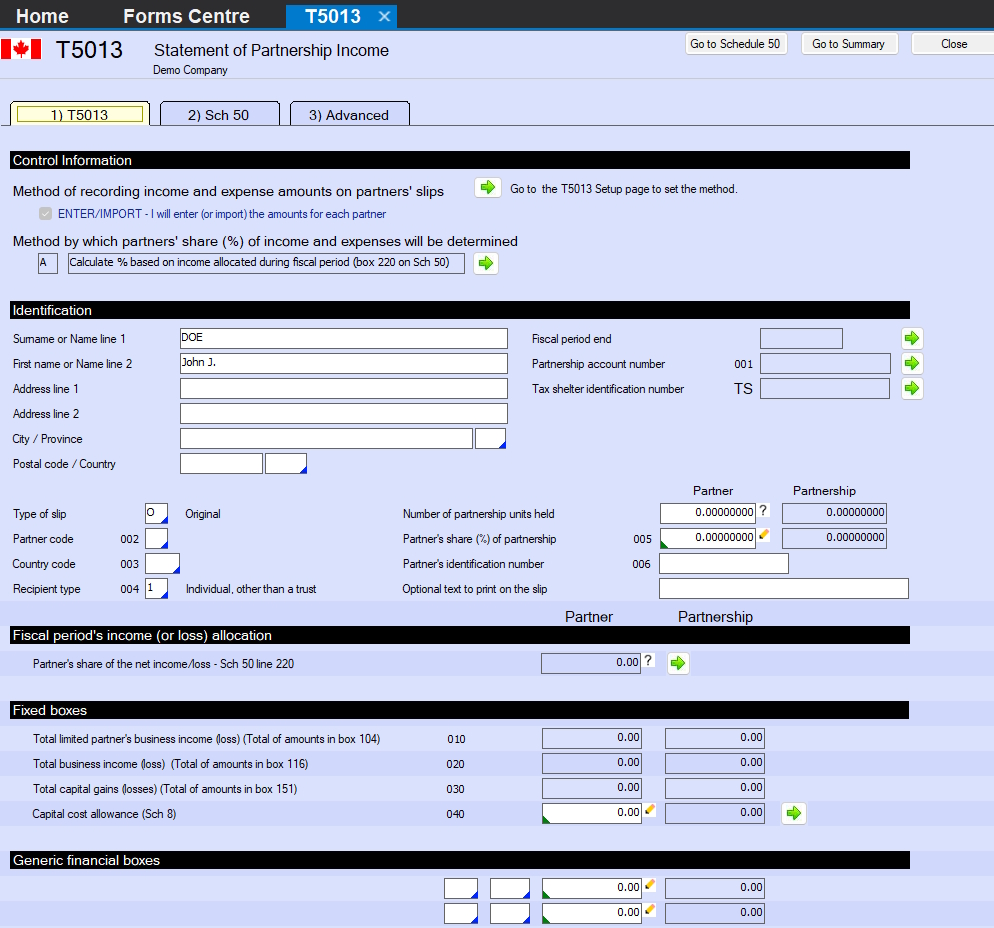
T5013 Data Entry Screen
Below are a number of features we’ve included in eForms to make manual data entry quick and easy:
- In many cases, eForms will display a warning if the entered data is invalid; since this feature is not universal, data should be confirmed before submission
- Data on any form is automatically saved as the cursor is moved between fields, and also when the form is closed
- The decimal point must be used when entering cents or a dollar amount with zero cents will be assumed
- The current company’s address can be copied to the current employee’s address by pressing SHIFT + F6
- An employee’s address can be copied to another slip by pressing F7 and then by pressing Shift + F7 on the other slip
- The cursor can be moved to the next field by pressing either ENTER or TAB
- Move the cursor to the previous field by pressing SHIFT + TAB.
- Fields at which the cursor stops can be configured for T4, T4A, T5, Relevé 1 & Relevé 3 slips using the Data Entry tab of the User Settings screen; accessed from the Setup menu; deselected fields will be skipped as the cursor is moved through the form
- Numerous slip and summary fields are validated from lists, which can be seen by positioning the cursor at the field in question and pressing the F2 key or double clicking any field indicated by
in the lower right. Double-clicking any item in the list will enter that item into the data field.
- Calculated values which can be overridden are indicated by
in the lower left corner, and can be overridden by positioning the cursor at the field in question and pressing the F4 key or by double clicking within the field. The background colour of the field will change to indicate the calculated value has been overridden.
To revert an individual field to its calculated value, press F4 or double click in the field. To revert all fields to their calculated values, click on the Recalculate button. In either case you will be asked to confirm the return to the calculated value. - Fields that are linked to or takes their data from a field on another form are indicated by
clicking on this arrow will open the form containing the linked field
Last updated on